The ritual cleaning of your bike is one of the downsides to riding out on the roads during spring. It is a vital task though because if you leave your bike caked in road muck and grit its components will begin to degrade. However, if you learn a bike washing routine and get yourself into the habit of doing it at least once a week, there is a much lower chance of this happening. As a result, your bike will maintain its performance for longer and it will be easier to conduct other maintenance on it.
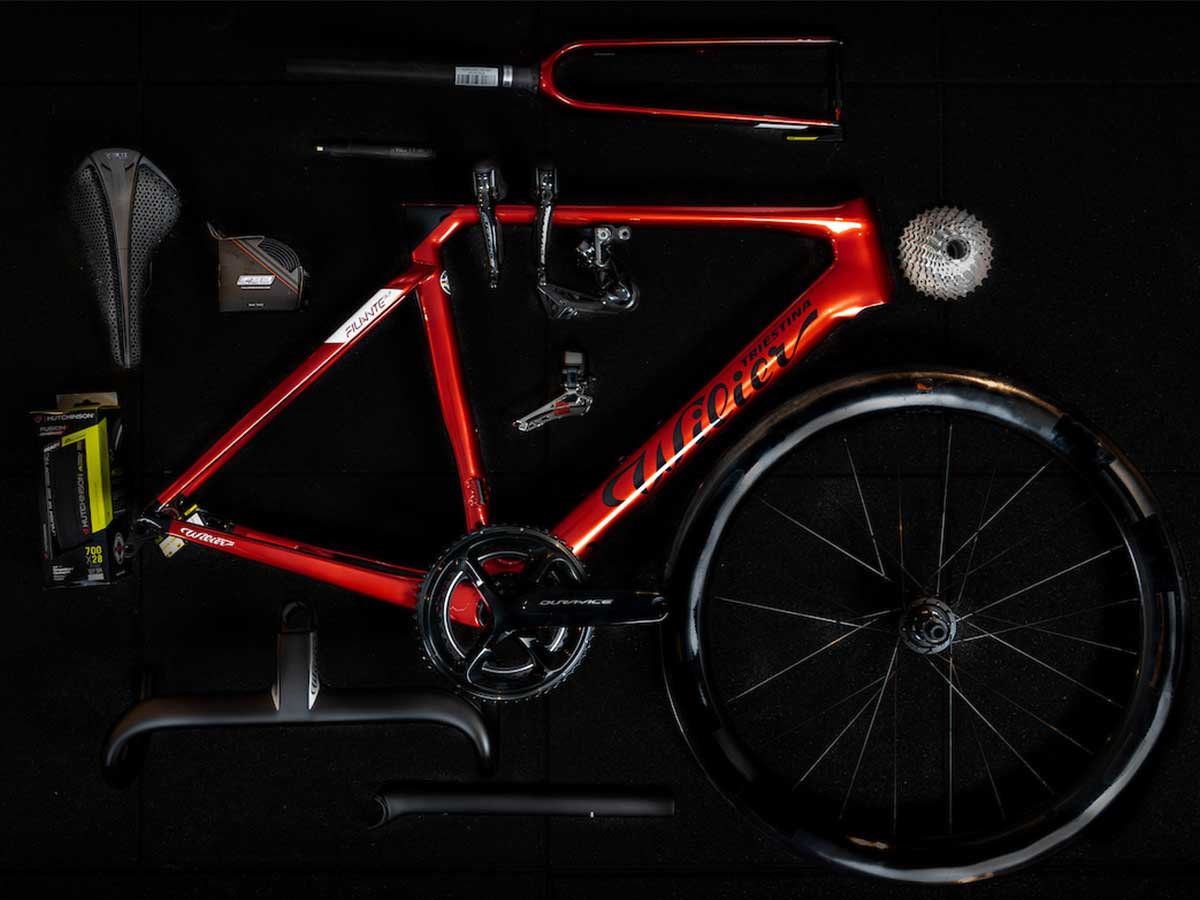
Before you get started there are some key household items that you’re going to need. These are a bucket, both a new and old sponge, cleaning brushes, hot water, bike wash, degreaser, chain lube and some old rags. You will probably have most of these things to hand, but at a pinch, if you don’t have specific bike wash you could use washing up liquid instead. So, let’s get straight into it with step one.
Step 1 – degrease
The first thing to do is to make sure your bucket is full of hot soapy water and that a pot of degreaser is to hand. Using a brush, you can then begin to essentially paint the degreaser onto the chain as you rotate the cranks backwards. After it is applied make sure to use something to brush or scrape away any grit that has built up on the jockey wheels before brushing them too with degreaser.
Step 2 – sponge
While the degreaser is doing its magic, use a sponge full of hot soapy water and clean the rest of the bike. Scrub the handlebars, forks and frame before then moving through the bike, making sure to clean off the dirt that may have collected on the rest of the frame, especially the underside.
Step 3 – drivetrain
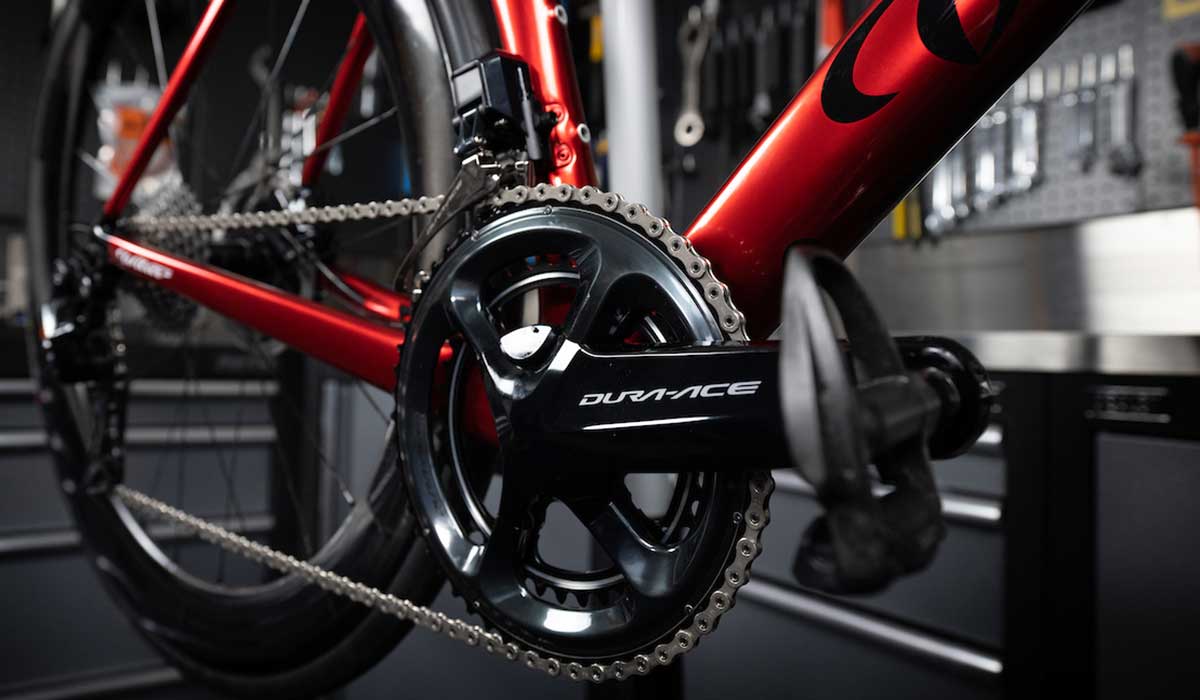
Now it’s time to focus on the drivetrain. You will need to swap to a drivetrain specific sponge now as you don’t want to get your frame cleaning items all dirty. Clean the chain by rotating the cranks backwards and holding your sponge at the drivetrain. This will combine with the degreaser to shine it all up. You can then go back to the clean sponge and use it to take the excess soap off.
Step 4 – derailleur
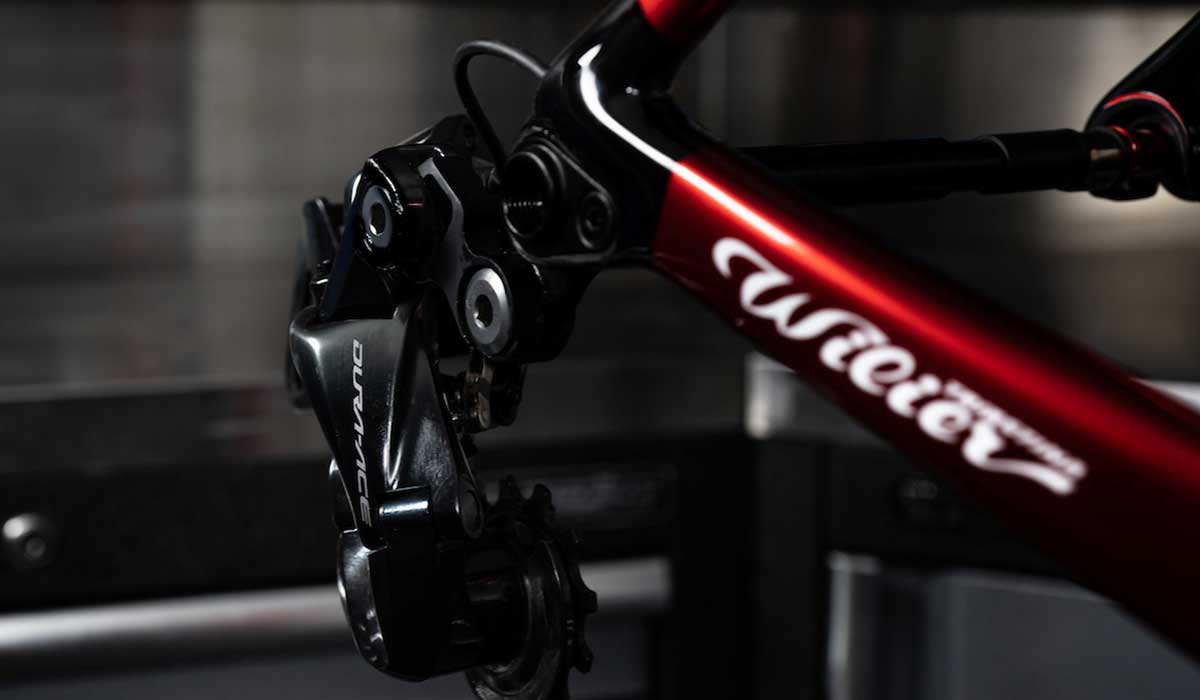
Dunk one of your brushes, ideally one on the smaller side, in water and then scrub out all the muck that has collected on the front and rear derailleur. Then use a sponge to thoroughly wash off any of the excess degreaser. When it’s dry, check to see if the gears are still changing happily by clicking through the block.
Step 5 – wheels
Next is the fiddly bit. Take both your wheels out and rest the bike on the tip of the forks against the ground, perhaps on a rag to avoid doing any damage, and lean the back end against a wall to keep it stable. Be aware that if you have disk brakes, you should definitely avoid doing this, resting the bike on its saddle instead. Before beginning work on the wheelset though, go back to the bike and use a sponge to scrub out the bits around the fork and the brake callipers now you have more space to get to them.
Moving back to the wheels, firstly clean the rims, spoke and hubs of your front wheel thoroughly with a sponge. Then do the same with the back wheel. This time pay close attention to the cassette cogs and apply some more degreaser before using a rag to clean between the sprockets. Finish by taking the old sponge and scrubbing off the degreaser before putting the wheels back in and doing up your quick release skewers.
Step 6 – rinse and lube
Finally, now your components and wheels are lovely and clean it is time to rinse off any excess soap or degreaser. Pour away your now mucky bucket of soap and warm water and replace it with clean water. There is no need for it to be warm for this stage. Now use your clean sponge and do a final once over of the bike to make sure it is fully rinsed off. Go back through the gears checking everything is still working and test the brakes before packing up your items and leaving the bike to drip dry.
Finally, apply an even amount of lube to the chain and leave it to do its work for ten or so minutes. Return to the bike after a cuppa and use a rag to wipe the excess lube off using the same back-pedalling motion as earlier. Just like that, you have a clean bike. It may seem like a lot, but when get yourself into the routine the process becomes second nature.
Of course, one the best way of keeping your bike in good order is by taking out cycle specific insurance for it. That’s where we come in. The fact is, you won’t find many of the things we cover in your typical home insurance policies. Taking out a policy with us means that your bike is protected in cases of bike theft and damage. Pedalsure can also protect you, your bike and your accessories in mass participation events and races, in cases of personal injury, personal liability and when you are travelling abroad. Getting yourself set up with a Pedalsure policy is something you only have to do once a year, but you benefit from on every ride.

All images courtesy of Daniel Hughes.